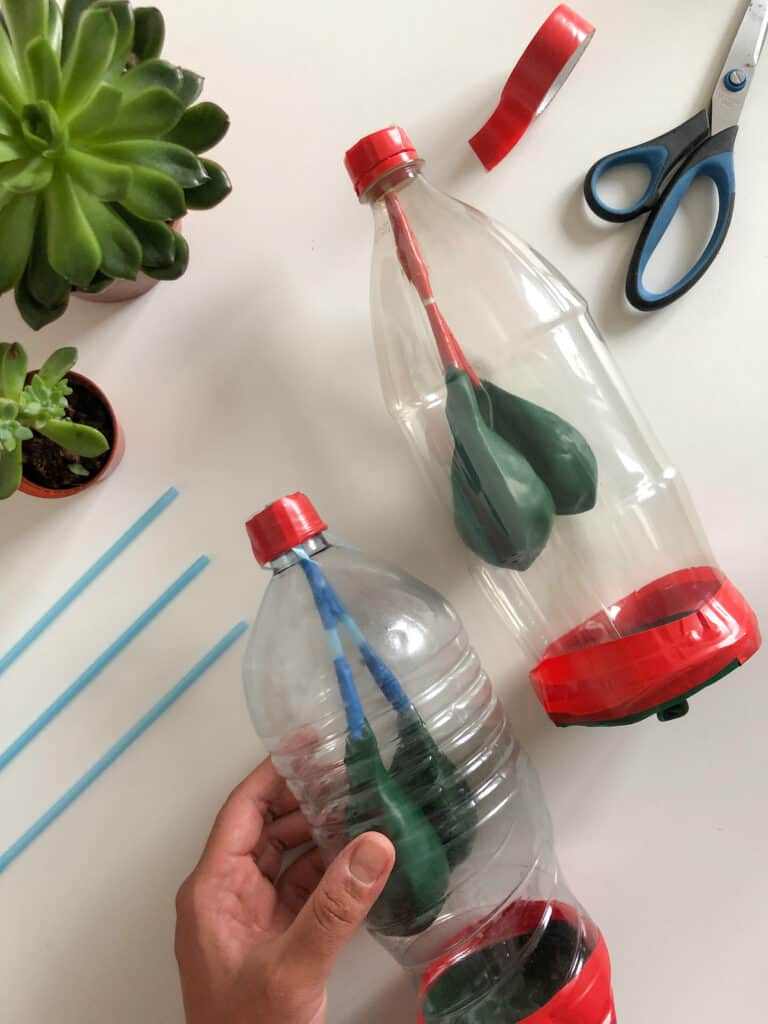
Salam friends!
I’ve had so many messages asking me how I made the breathing lungs for our respiratory system lesson. So guess what I did?
You guessed right! I went ahead and made another pair! This time round, I took pictures for y’all! Fear not, they’re super simple to make and loads of fun once you’re done. I didn’t involve my kids in the making process because they’re still young, but if your kids are older you can all make it together.
Through teaching my own children, I have found that these science experiments have taken our learning experience to a whole new level. They help my children visualize the concepts I am trying to teach them, and it’s sensory play at the same time. After pulling, tugging, and blowing at the lungs, even my two-year old can tell you which part is which. The power of play is truly is a gift.
So let’s get started!
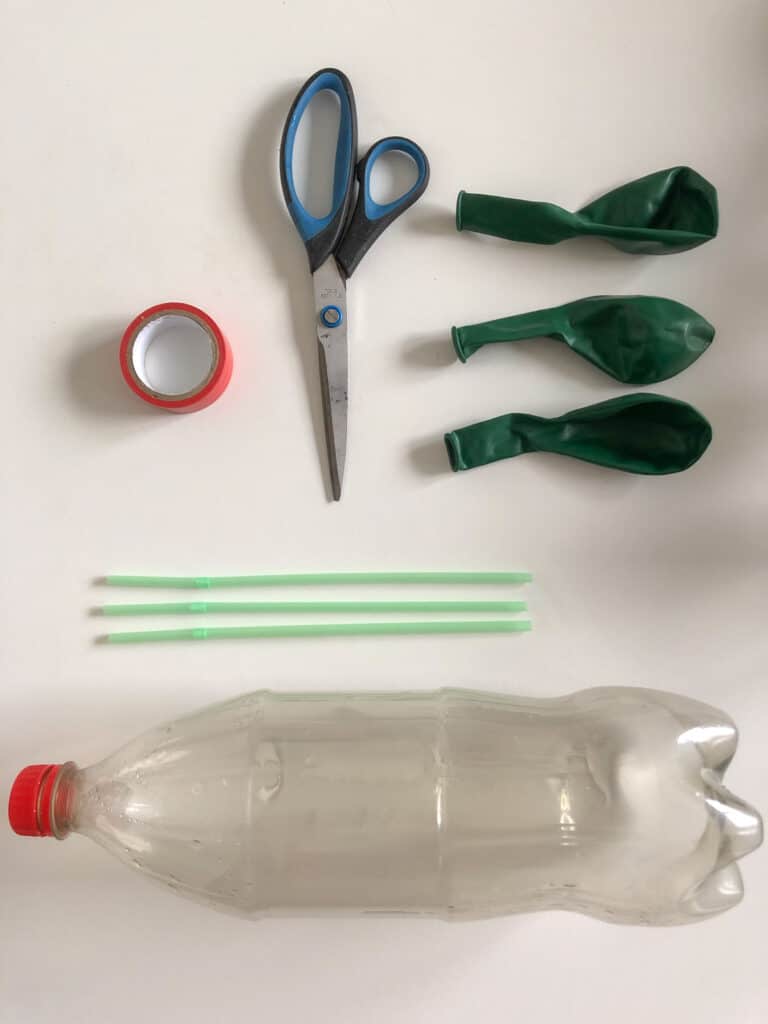
To make some lungs, you’re going to need:
A wide strong bottle with it’s cap
3 long straws
3 balloons
insulation tape or any other strong tape
a pair or scissors
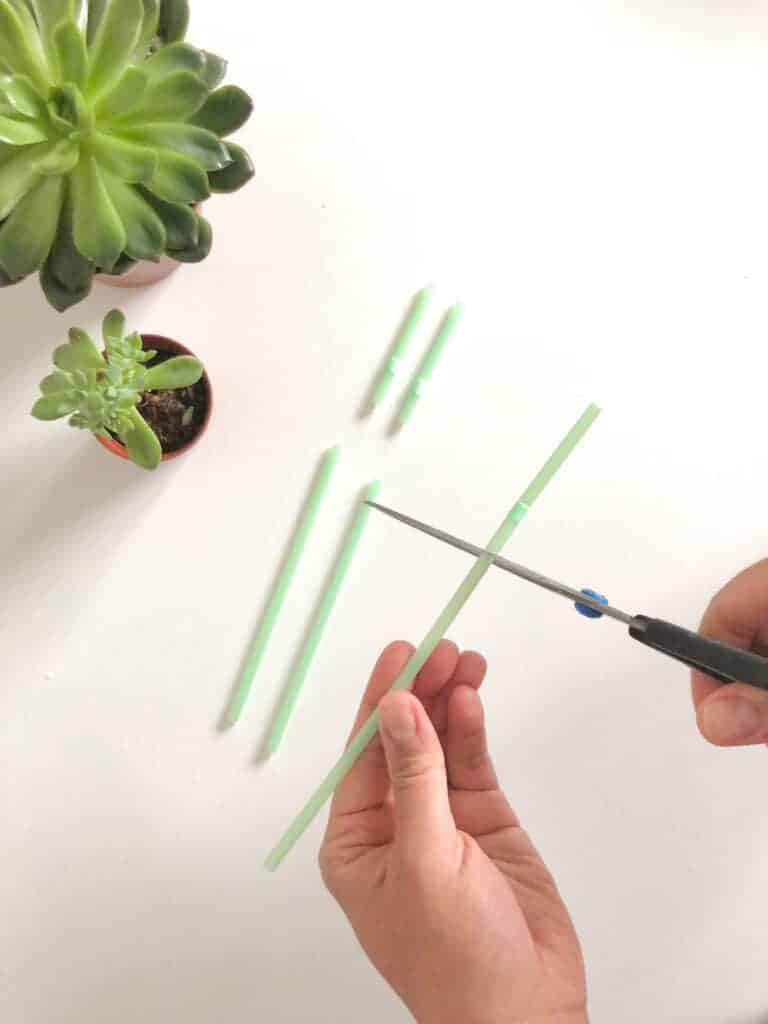
First off, you’re going to cut off a third of each straw from the side of the bend. You may have to trim them further as you assemble the pieces so bear that in mind.
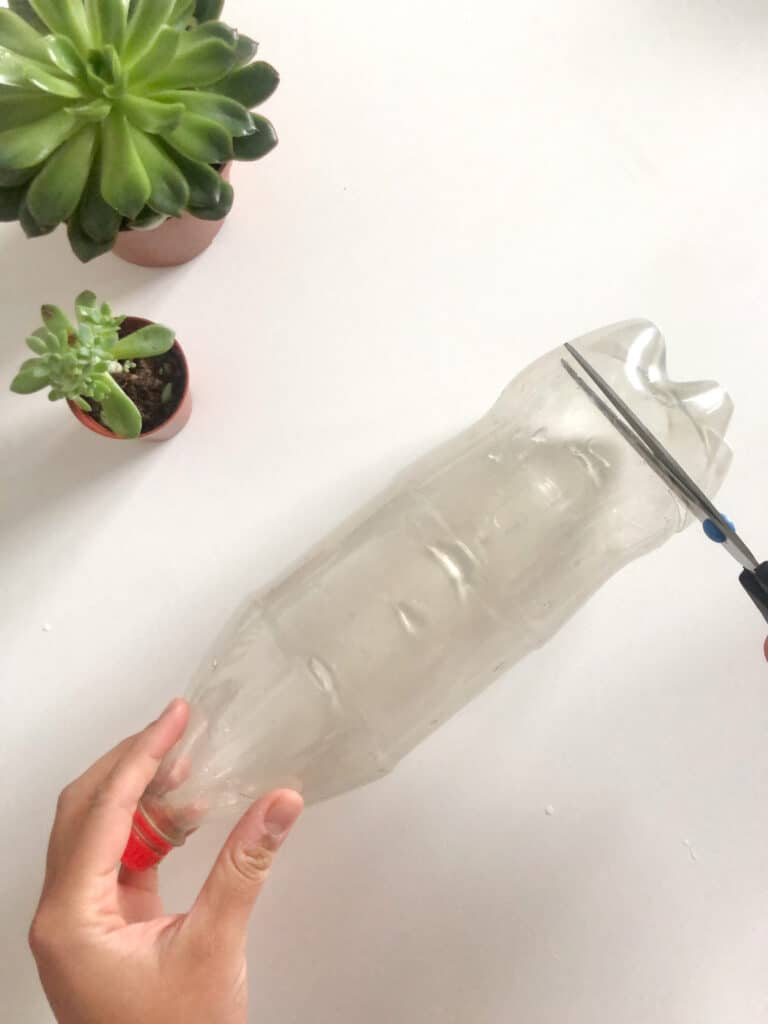
Then, grab your bottle and cut off a quarter to a third from the bottom. Be careful when doing this part because the scissors may slip.
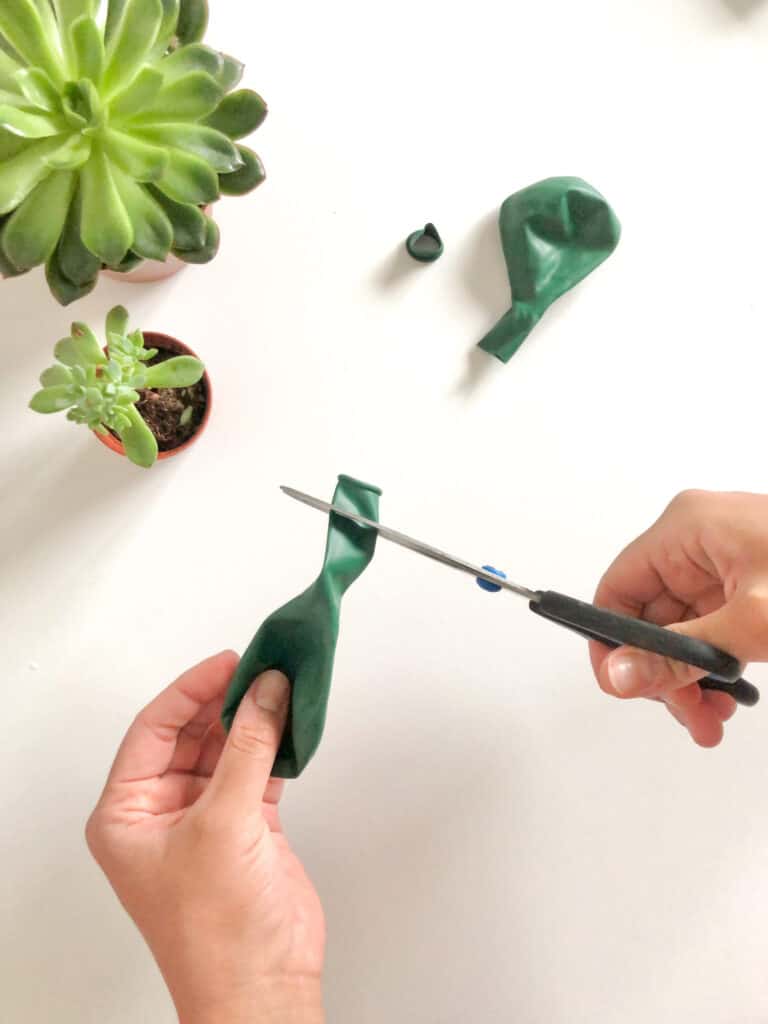
Once your bottle is nice and straight, take two of the three balloons and snip off the necks.
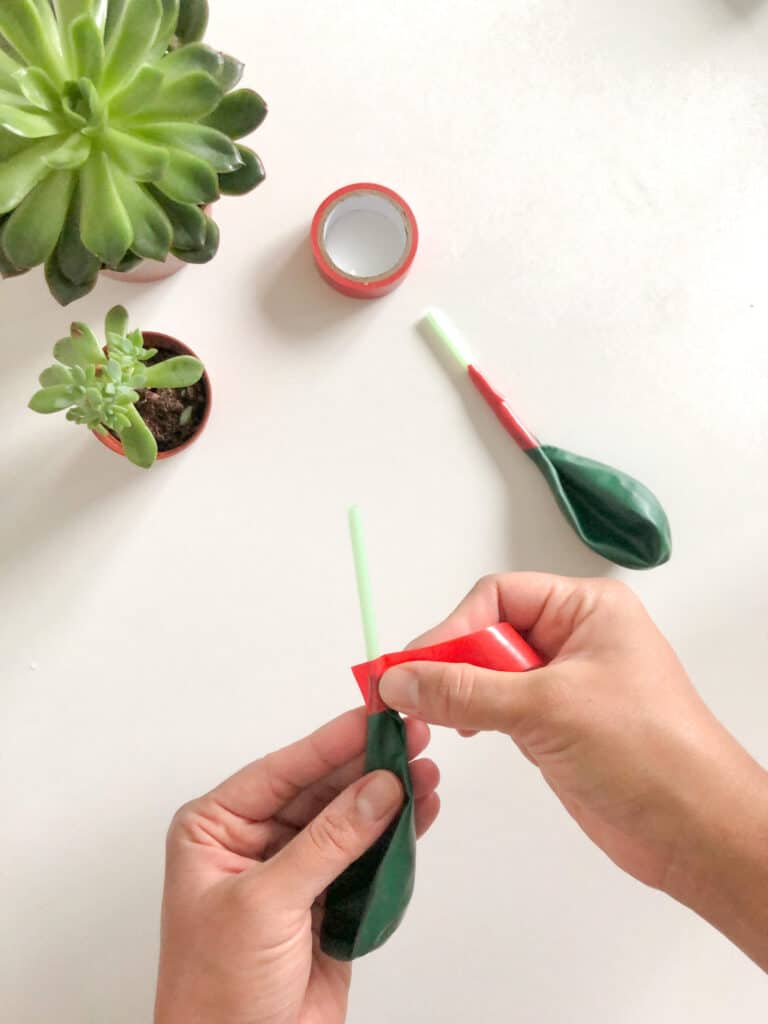
To make your lungs, insert two straws into the two balloons you cut and tape them closed. Blow into the straws slightly to make sure they’re sealed well.
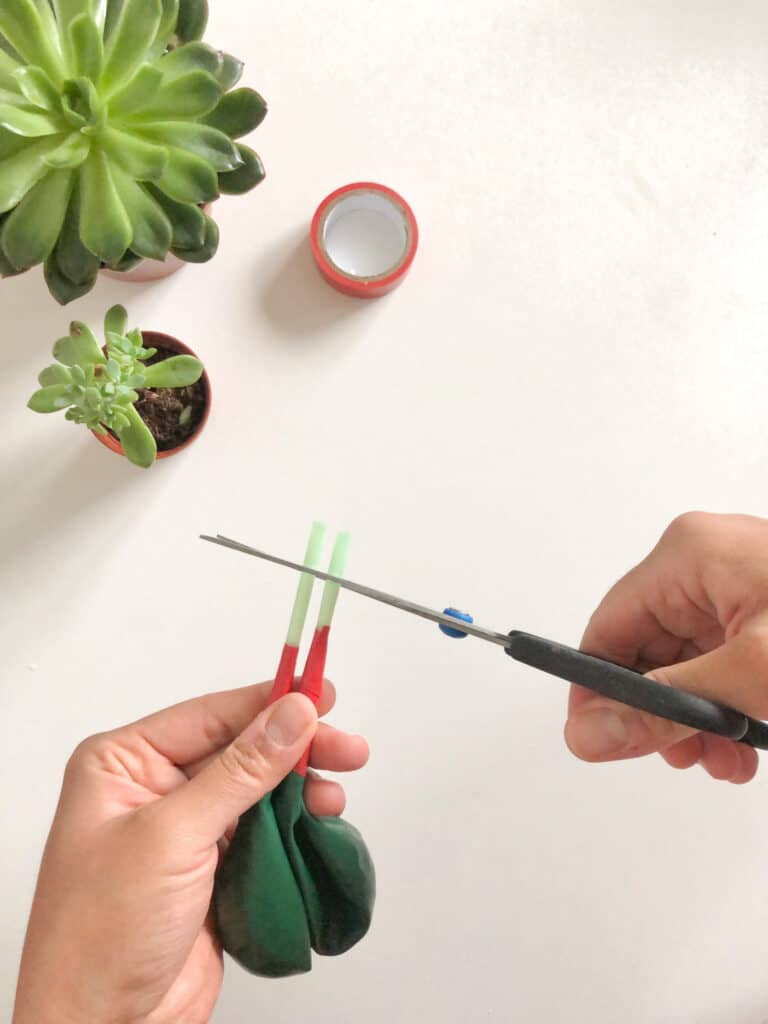
I noticed, afterwards, that the bronchi were a little long so i shortened them.
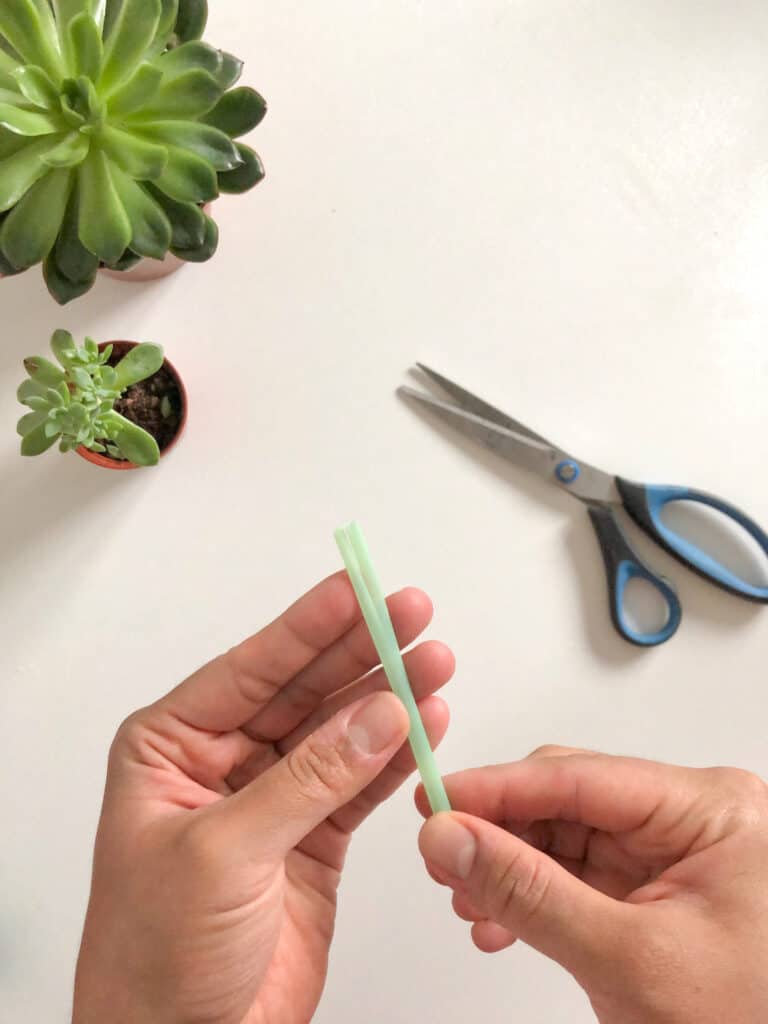
Now it’s time to make the trachea! Take your third straw and snip it lengthways – around 2 cm in.


Insert the bronchi into either side of your snipped straw/trachea. Seal them tight with tape and blow throw your trachea a few times to make sure there are no gaps. Notice how much tape I needed to make sure no air was escaping.


We’re not done with trachea just quite yet! Snip the top part of your trachea lengthwise again, but this time make two snips. The tip of your straw should now be split into four.
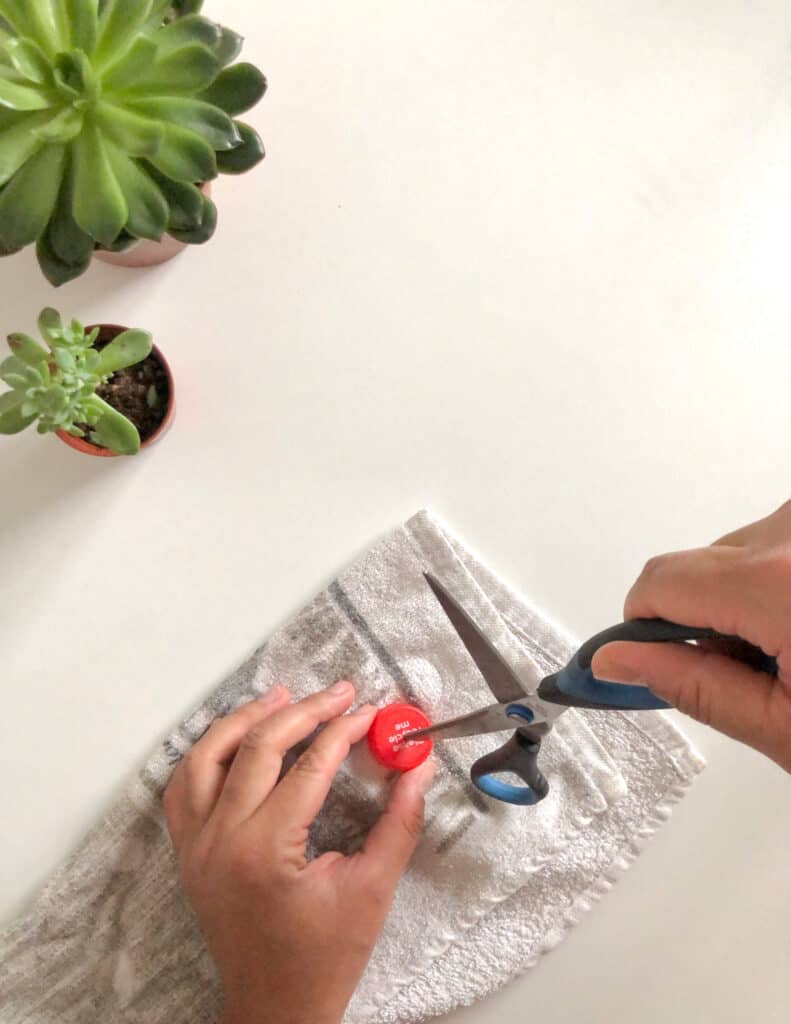
Now grab your bottle cap, place a tea towel underneath to precent it from slipping, and poke a nice round hole in the centre using your scissors.


Once the hole in your cap is wide enough, insert your split trachea in from the bottom of the cap, and tape the split straws onto the cap like in the picture.


Nearly there! Push your lungs into the top of the bottle and cap it shut.
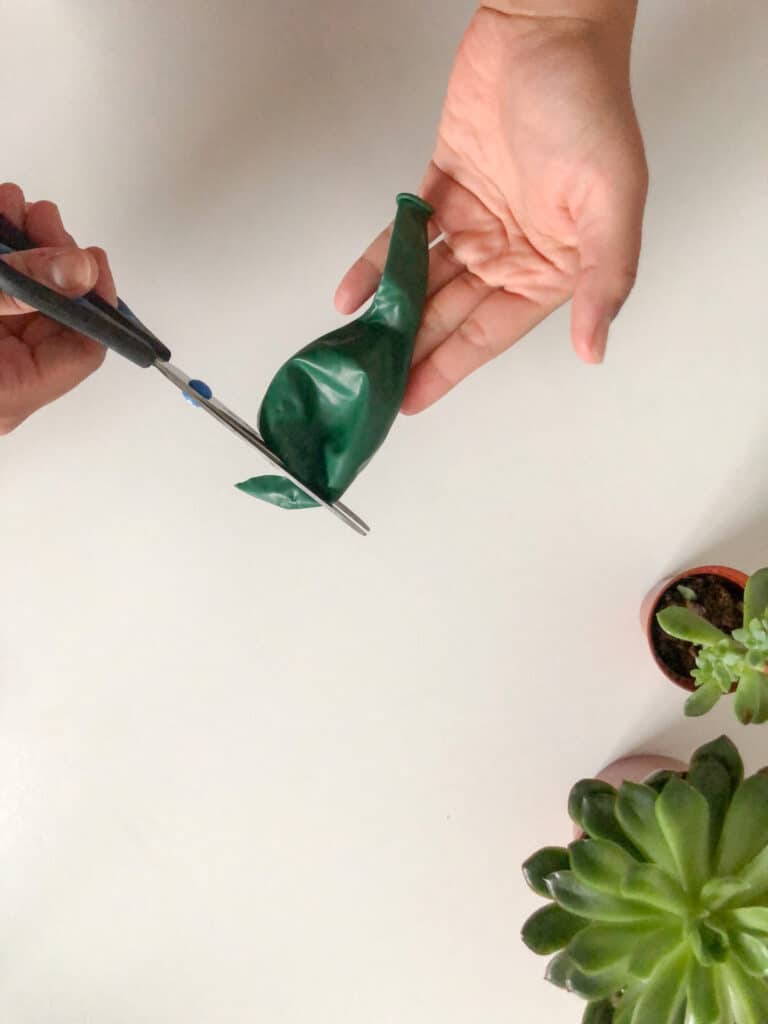
Now take your third balloon and inflate it first so that it’s easier to work with. Then snip a quarter off from the bottom. This is going to be the diaphragm.


Tie the neck of your balloon and stretch the open part of the balloon over the cut part of your bottle. Seal the sides of the balloon with tape.


Your science experiment is now ready! Pull down the diaphragm to inflate the lungs and push it all the way up to deflate them.
I hope you and kids enjoy playing with the lungs as much as we did. By the end of it, Dania was saying, “I can make my two hearts go big and small” haha
You'll be the first to know what's new at The Kids Part! There's always something brewing behind the scenes..